Stucco Replacement Color Change: How to Get a Fresh Exterior That Lasts
If your stucco is past the point of patching, replacement is also your one clean shot at a new look. A stucco replacement color change means the new finish coat is tinted to the color you want, so the color runs through the material instead of sitting on top as paint. Done in the right order, you end up with a wall that looks new because it is new. Done in the wrong order, you end up repainting a brand-new wall within a year. This guide walks through the process step by step, including how to decide whether you need replacement at all, since a specialist who fixes cracks and holes every week has no reason to sell you a full tear-off when a patch would do.
Stucco is still the default exterior in this region. According to the National Association of Home Builders, stucco covered 48% of new single-family homes started in the Mountain division, which includes Arizona, in 2024. That means color matching against neighboring walls, and against your own untouched walls, matters more here than in most of the country.
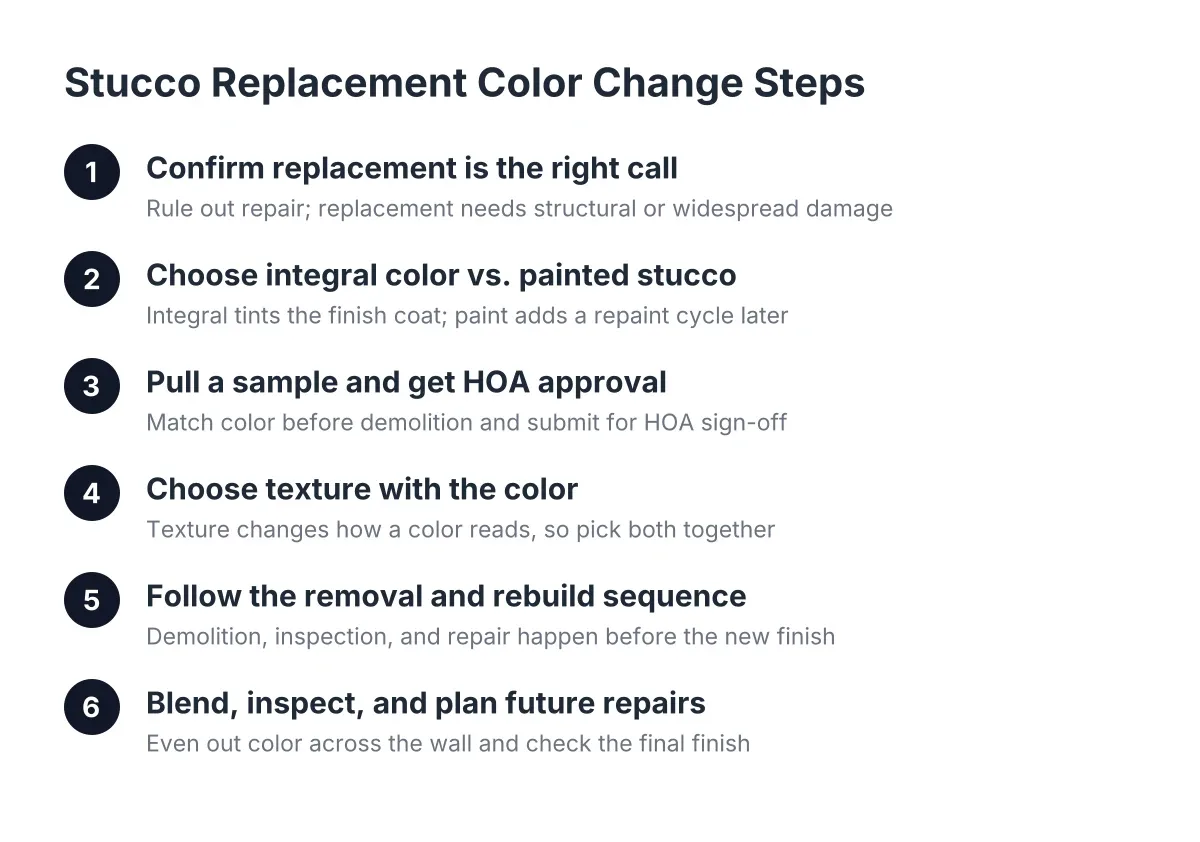
Step 1: Confirm Replacement Is Actually the Right Call
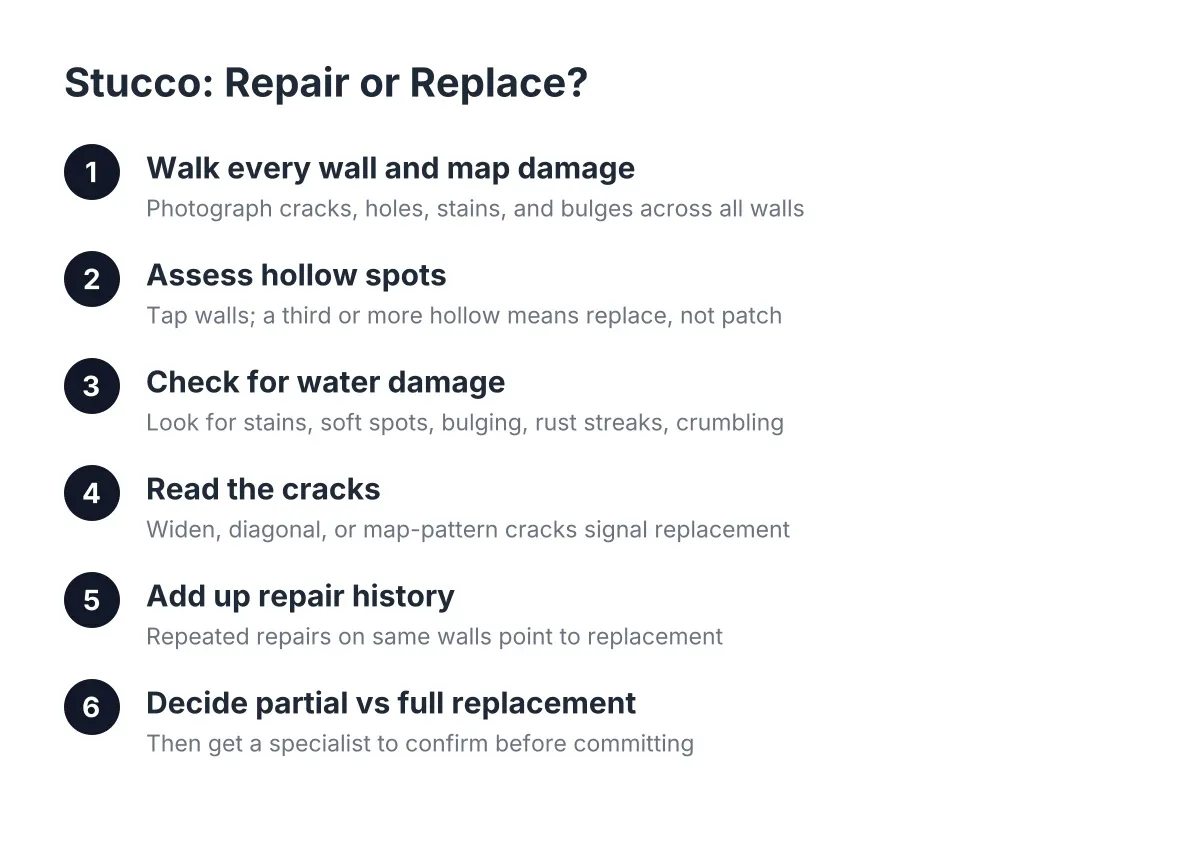
Before you pick colors, make sure the wall needs replacing and not repairing. Replacement is warranted when the damage is structural or widespread; a color change alone is not a reason to tear off sound stucco.
Replacement makes sense when you see:
- Large sections that sound hollow when you knock on them, meaning the stucco has separated from the lath or block behind it
- Soft, stained, or bulging areas that come back after every monsoon, which points to water damage behind the wall
- Cracking spread across most of a wall face, not one crack near a window or door
- Crumbling around the base of walls where stucco meets grade
- A previous patch job failing across multiple spots at once
However, if you have one hole from a ladder, a single spreading crack, or a stained patch under a scupper, stucco crack repair or stucco patching will fix it for a fraction of the cost. For scale, Fixr.com puts the national average for repairing buckled three-coat stucco in a 10×10-foot area at $900 to $3,000, averaging about $1,700. If a repair in that range solves your problem, take the repair. If you just want a new color on sound stucco, painting is the honest answer, not replacement.
One trade-off to know: partial replacement of a single wall while changing colors will leave that wall a different color from the rest of the house unless you also paint or refinish the remaining walls. Decide up front whether you are changing one wall or the whole exterior.
Step 2: How Stucco Replacement Color Change Works During Installation
You have two ways to get a new color during replacement, and the choice affects cost, maintenance, and how repairs blend later.
Integral color means pigment is mixed into the finish coat itself. The color goes all the way through, so hairline scuffs and chips show the same color underneath. It weathers gradually and never peels, because there is nothing to peel.
Painted stucco means the new finish coat cures first, then gets masonry paint. Finished stucco surfaces commonly get masonry paint as a follow-up treatment, and paint gives you a wider color range and easier future changes. The trade-off is a repaint cycle every several years, and paint can behave unpredictably on fresh stucco if applied before the finish coat fully cures.
For most Scottsdale homes, integral color wins if you want low maintenance and a traditional look. Paint wins if you want a specific designer color, or if only part of the exterior is being replaced and the rest will be painted to match.
Step 3: Pull a Sample and Get HOA Approval Before Demolition
Do this before any stucco comes off the wall. If your exterior has faded unevenly, with multiple shades across different exposures, have the contractor remove a small sample piece from an inconspicuous spot. That sample becomes the reference for color matching, whether you are matching the old color or documenting the starting point for a change.
In addition, most Scottsdale HOAs require written approval for exterior color changes, and many restrict you to an approved palette. Submit your color and texture selections early. An HOA violation letter after the finish coat is on is an expensive way to learn the rules. If your project is an addition or patio enclosure, coordinate this step with your general contractor so the new stucco scope and the color approval land at the same time.
Step 4: Choose the Texture Along With the Color
Color and texture read together, so pick both at once. A color that looks right on a sand finish sample can look darker and flatter on smooth stucco, because texture changes how light hits the wall.
Common options include sand or float finishes, lace and skip-trowel textures, and smooth stucco, which has become popular on modern Scottsdale remodels. Smooth finishes show every imperfection in the base coats, so they cost more in labor and demand a cleaner substrate. If you are replacing one or two walls on a house that keeps its original lace texture elsewhere, texture matching matters as much as color matching; a perfect color on the wrong texture still reads as a patch from the street.
Ask for a physical sample board, at least two feet square, made with your actual color and texture. Look at it against your house in morning and afternoon light before you approve it.
Step 5: Understand the Stucco Replacement Color-Change Removal and Rebuild Sequence
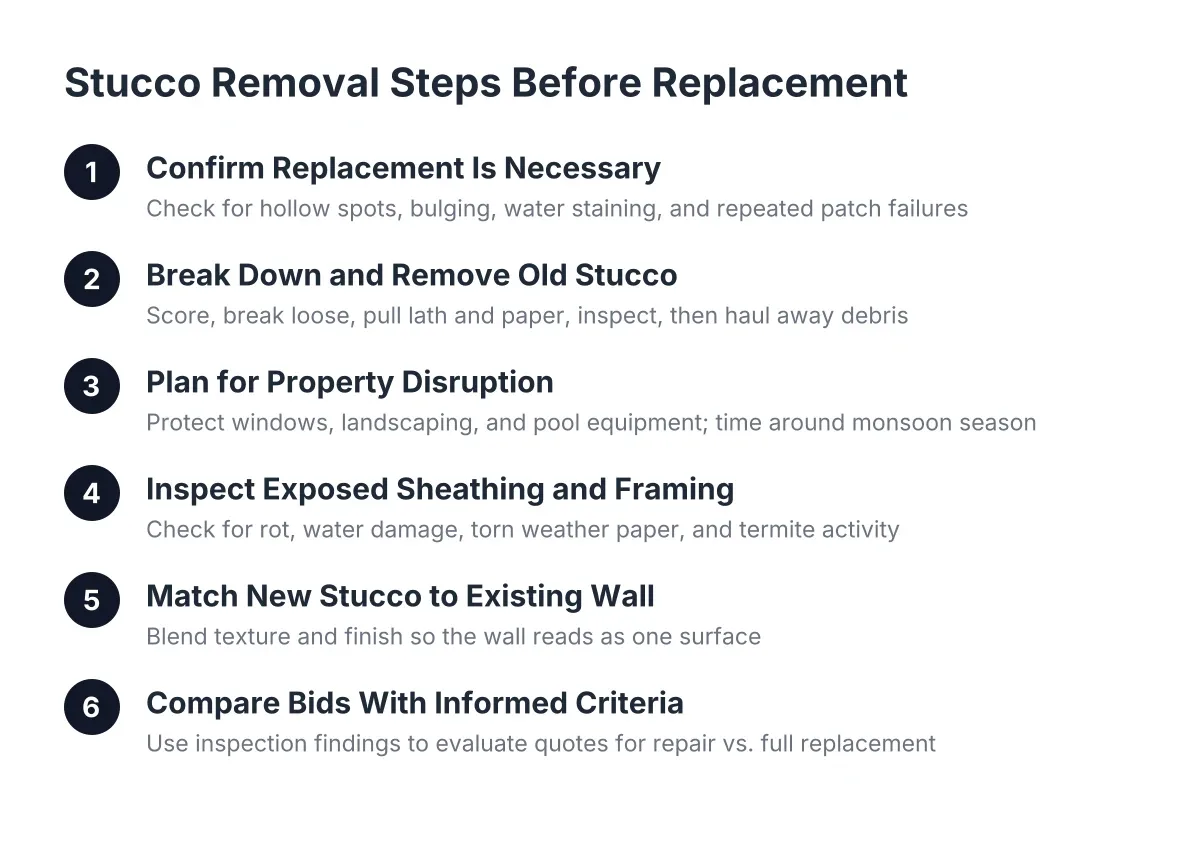
Knowing the sequence helps you plan around the disruption. A full wall stucco replacement follows the same basic order regardless of color:
- Demolition: crews strip the old stucco down to the lath or sheathing. This is the loud, dusty phase, usually a day or two per wall depending on size.
- Inspection and repair: with the wall open, any rotted framing, damaged sheathing, or failed flashing gets fixed. This is the step that separates replacement from a cosmetic reskin.
- Moisture barrier and lath: new weather-resistive paper and metal lath go up.
- Scratch and brown coats: traditional stucco goes on in three coats; the scratch coat is scored so the next layer bonds, then the brown coat builds thickness and flattens the plane. Each coat needs cure time, and Arizona heat means crews often keep new coats damp so they cure instead of drying too fast.
- Finish coat: this is where your stucco replacement color change actually happens, either as an integrally colored finish coat or as a paint-ready finish that gets coated after curing.
Expect roughly one to three weeks for a full exterior once work starts, driven mostly by cure times between coats rather than labor hours. Plan for dust, protected landscaping, and limited access to the walls being worked.
Step 6: Blend the New Color Across Everything on the Wall
A new wall color exposes everything that did not change with it. Light fixtures, electrical raceways, utility boxes, scuppers, and vents mounted on the stucco should be painted to match or intentionally contrasted; leaving them the old color makes the new work look unfinished.
Also watch the edges. Removing fixtures or adjacent panels during the job can create spider-web hairline cracking in surrounding stucco, so walk the perimeter of each replaced section before final payment and have any hairline cracks addressed while the crew is still on site. Where a replaced wall meets an original wall, decide how the transition gets handled: an inside corner hides a color break well, while a color change mid-plane on a flat wall never looks right.
Step 7: Inspect the Finish and Set Up for Easy Future Repairs
Suppose a homeowner in north Scottsdale replaces two monsoon-damaged walls and shifts the whole house from a dated pink-tan to a warm gray. In that scenario, the smartest thing they can do on the final day costs nothing: record the finish manufacturer, color name or formula, and texture technique, and keep a leftover piece of the sample board in the garage. Two years later, when a ladder puts a hole in the wall, that record turns a difficult color-matching job into a straightforward patch.
At the final walkthrough, check the wall at a low angle in raking light for texture inconsistencies, confirm weep screeds at the base are clear, and verify sealant joints around windows and penetrations are complete. If anything looks off, flag it now; texture high spots can often be knocked down and blended without redoing the coat.
When Stucco Replacement With Color Change Beats Repainting
Replacing stucco with a new integral color makes sense when the wall already needs structural work; repainting makes sense when the stucco is sound and only the color is tired. The dividing line is the condition of the wall, not the color. Never let a color preference talk you into demolition, and never let a failing wall talk you into hiding the problem under paint.
There is one more case worth naming. If you are building an addition or enclosing a patio, new stucco has to go on that structure anyway. That is often the best moment for a whole-house color change, since the addition gets integral color from day one and the original walls get refinished or painted to match, so nothing reads as old versus new. Stucco replacement on failing sections can fold into the same project, which is cheaper than mobilizing a crew twice.
Finally, know when to bring in a professional early. If the wall is soft, bulging, or staining after storms, water may already be in the framing, and only opening the wall reveals how far it goes. A stucco replacement with color change is a cosmetic decision layered on a structural job; get the structural assessment first, then have fun picking the color.
If you need stucco repair, Scottsdale Stucco Repair can help.
Prefer to talk it through? Call (480) 637-3464 — a quick call is usually the fastest way to get a straight answer for your situation.