The Stucco Removal Process Before Replacement: A Step-by-Step Homeowner’s Guide
Understanding the stucco removal steps before replacement starts is the best way to judge whether a full tear-off is even necessary. Plenty of walls in Scottsdale get quoted for complete removal when a targeted repair would hold. Others get patched year after year when the base underneath has already failed. This guide walks through the removal work step by step, so you can weigh repair against replacement with clear criteria, ask sharper questions of any bidder, and know what a legitimate crew does before new stucco goes on. No specialist should push a full replacement when a patch will do, and this article is written from that position.
Stucco is not a niche material here. According to the National Association of Home Builders, stucco remained the most-used exterior wall material in the Mountain division, which includes Arizona, at 48% of new single-family homes started in 2024. That means a lot of Scottsdale walls hitting the age where removal and replacement becomes a real question.
Step 1: Confirm Replacement Is Actually Necessary
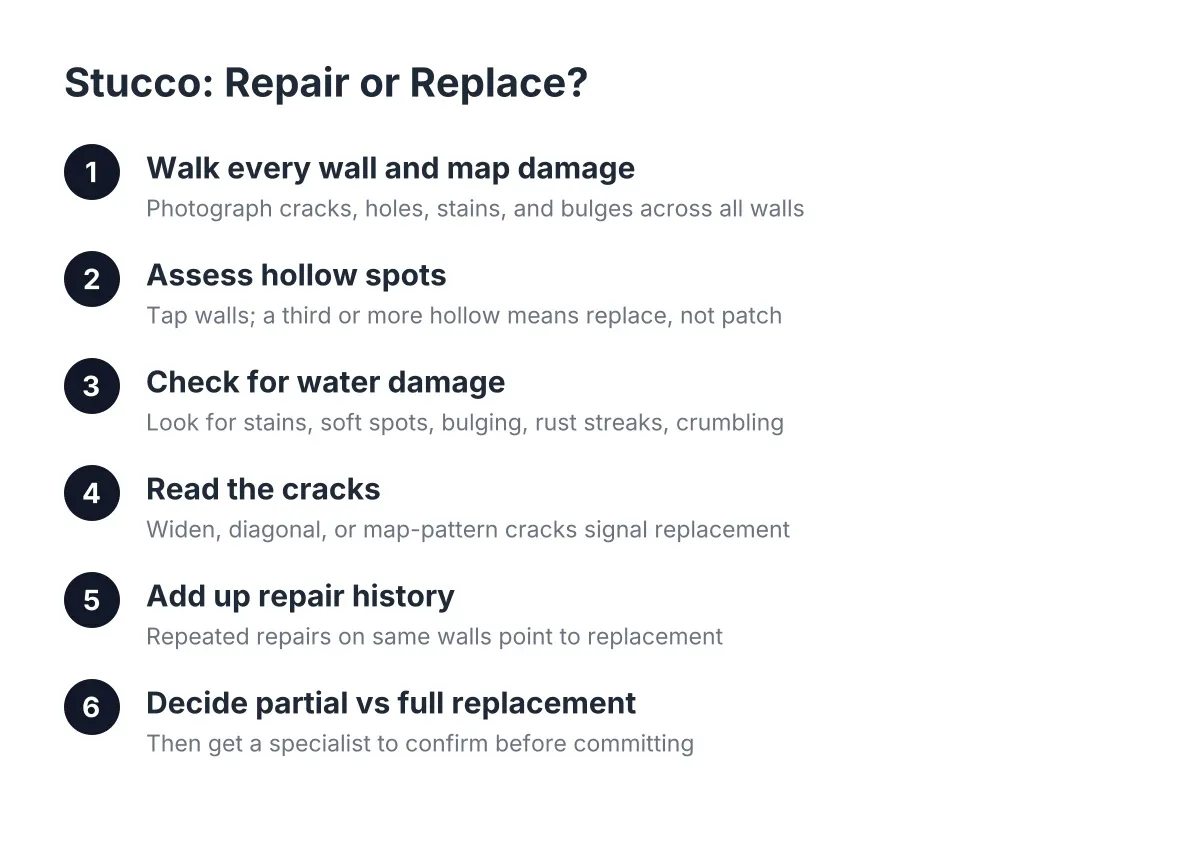
Before anyone swings a hammer, verify that the damage goes beyond what stucco crack repair or stucco patching can handle. Removal is disruptive and costs real money, so this decision deserves more than a drive-by quote. Be wary of any contractor who prices a full tear-off without touching the wall; two quotes without an inspection is a common complaint for good reason.
Walk the wall and check for these signs that point toward replacement instead of repair:
- Large sections that sound hollow when you knock on them, not just one spot near a downspout
- Bulging or buckling areas, which mean the stucco has separated from the wall behind it
- Soft, stained sections that get worse after every monsoon, a sign of ongoing water damage behind the surface
- Cracks that keep lengthening each summer even after crack repair, especially spreading from corners of windows and doors
- Repeated patch failures, where fixed spots pop out or show through within a year or two
For scale, Fixr.com puts the national average cost to repair buckled three-coat stucco in a 10×10-foot area at $900 to $3,000, averaging about $1,700. If your damage is confined to one area in that range, a repair likely makes more sense than tearing off a whole elevation. If hollow-sounding, water-damaged sections cover most of a wall, patching becomes a losing game and removal is the honest answer.
One more note for HOA boards evaluating perimeter walls or entry monuments: the same criteria apply, but document them. Photos of hollow zones, bulges, and moisture staining give the board something concrete to vote on and make the two or three bids you collect easier to compare.
Step 2: Breaking Down Stucco Removal Steps Before New Material Goes On
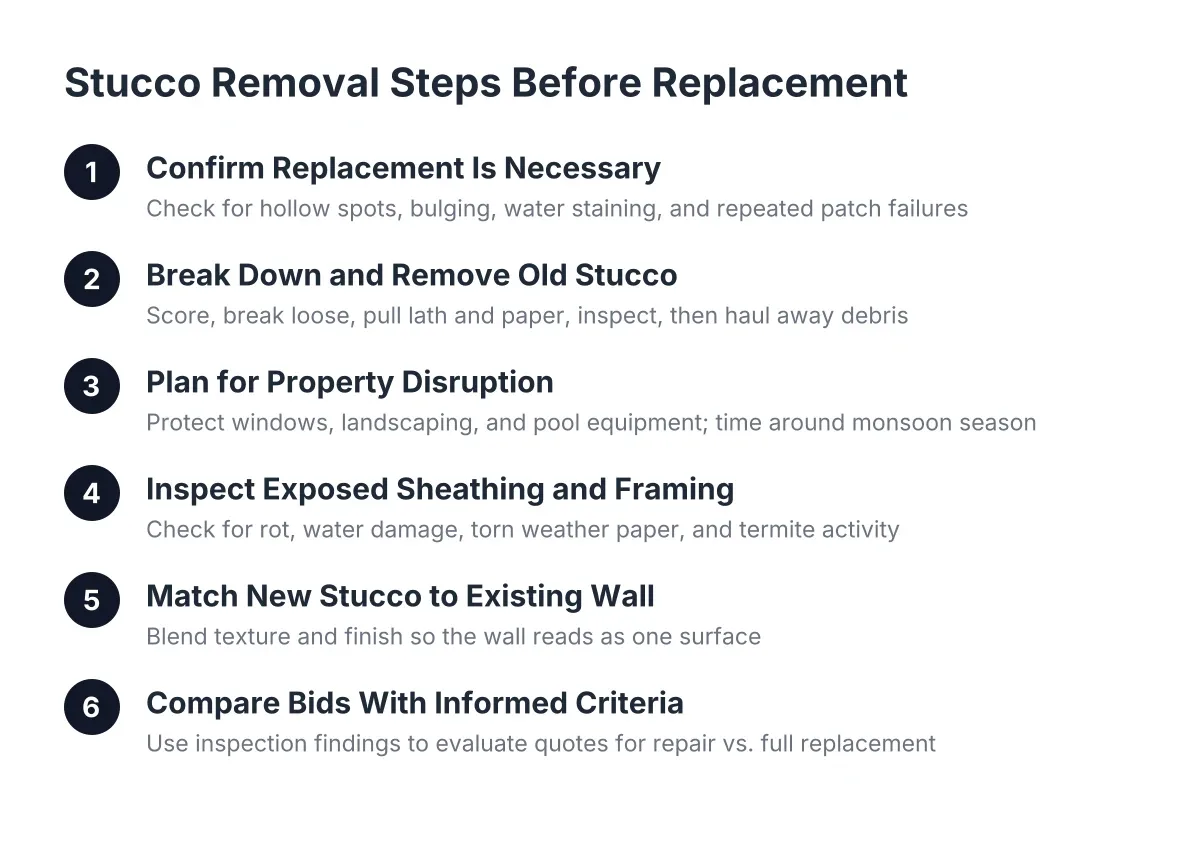
The stucco removal process before new material goes on has three parts: breaking the old stucco off the wall, cutting and pulling the embedded lath and old paper, and inspecting what is underneath. A crew that skips or rushes any of these is setting up the new stucco to fail the same way the old one did.
Here is the sequence in plain terms:
- The crew scores the removal area with a saw to create clean edges, then breaks the stucco loose with hammers or chipping tools.
- They cut the wire lath and pull it off along with the old weather-resistive paper behind it.
- They inspect the exposed sheathing and framing for rot, water damage, or termite activity.
- They haul away the debris, which is heavy; stucco tear-off fills a trailer or small dumpster fast even on a partial wall.
This matters for the repair-versus-replace decision too. If a bidder proposes coating over failing stucco instead, know the ground rule: all loose or buckling material has to come off first, because leaving it in place lets rain keep expanding the damage underneath. There is no shortcut that skips removal of failed sections, whether the job is a patch or a full stucco replacement.
Removal is also where partial versus full gets decided. On a partial removal, the crew takes off one elevation or one damaged zone and ties the new stucco into the old. That saves money but introduces a blending challenge, covered in Step 5.
Step 3: Plan for the Disruption on Your Property
Removal is the loud, dusty part of the project, and it helps to know that going in. Expect several days of hammering and grinding on a full wall, plastic sheeting over nearby windows and landscaping, and debris staging in the driveway or side yard. Pool equipment, patio furniture, and cars should move before the crew arrives.
For an HOA project on a shared perimeter wall, add resident notice to the plan. Suppose a community of 150 homes needs 200 feet of monument wall stripped and re-stuccoed; in that scenario, a typical crew would section the work so no stretch sits exposed over a weekend, and the board would notify residents about noise and temporary path closures ahead of time. Timing also matters in Scottsdale. Exposed walls and monsoon season are a bad mix, so schedule removal with a clear weather window or confirm the crew papers and protects the wall the same day it comes open.
Step 4: Inspect What the Removal Exposes Before Anything Goes Back On
Once the wall is stripped, the inspection is the whole point of the stucco removal steps; before new lath goes up, the exposed sheathing tells you what the stucco was hiding. This is the step that separates a lasting replacement from an expensive repaint of the same problem.
Look for, and expect your contractor to show you:
- Dark staining or soft, spongy sheathing where water got behind the old stucco
- Rotted framing around window and door openings, the most common trouble spots
- Torn or degraded weather paper that let moisture through for years
- Gaps or failed flashing where the wall meets the roof, windows, or the foundation
However, be prepared for this step to change the budget. Hidden rot is the most common source of mid-project cost increases, and no honest bid can price it before the wall is open. Ask every bidder how they handle discovered damage: unit pricing for sheathing replacement written into the contract is fairer than an open-ended change order. This is also the point where a structural issue, widespread rot, or suspected termite damage calls for a licensed inspector or structural professional rather than a stucco crew's judgment alone.
Cleanliness matters here too. Before any new material bonds to remaining stucco at the tie-in edges, the surface has to be free of dust, loose burrs, oils, and debris. Contaminants prevent proper bonding, and a rushed cleanup at this stage is why some replacements crack along the seams within a year.
Step 5: Match the New Stucco So the Wall Reads as One Surface
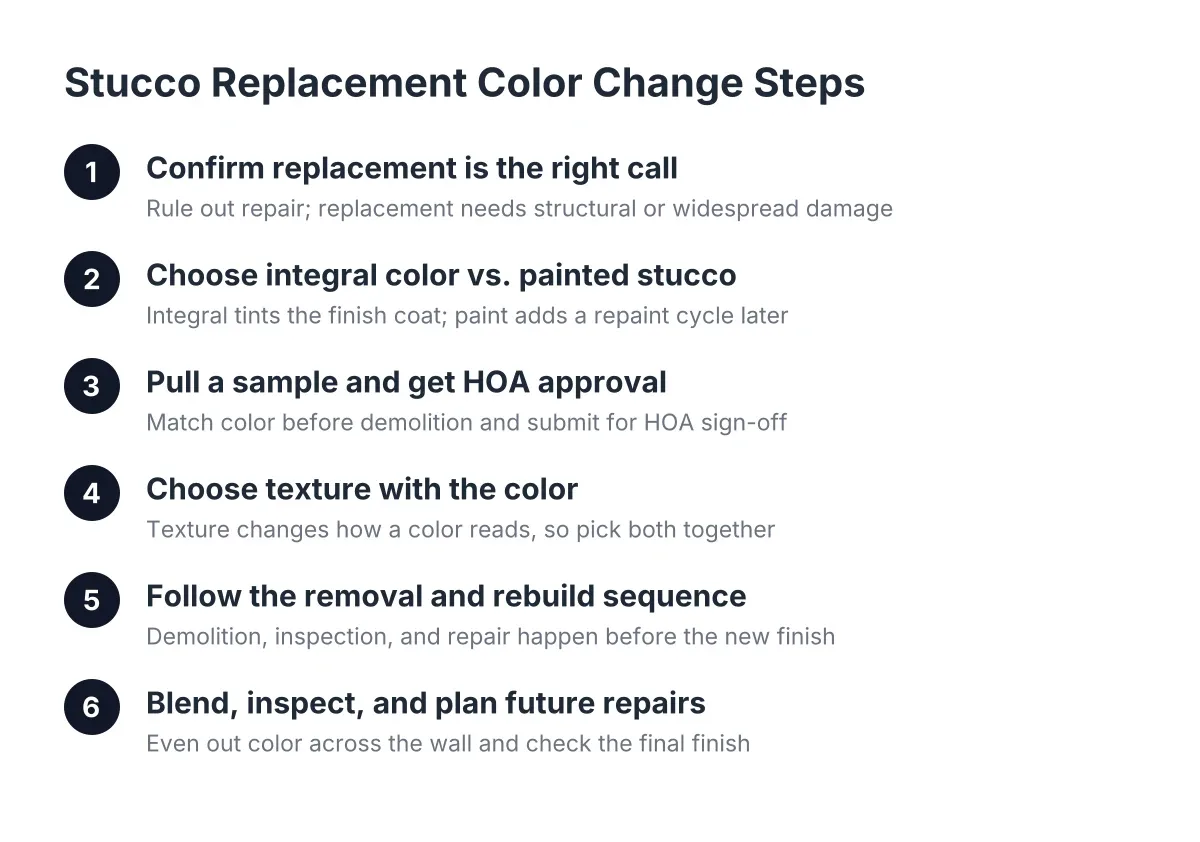
On a partial replacement, the new section has to match the old wall in both texture and color, or the repair announces itself every time the afternoon sun rakes across it. Texture comes first: the finisher replicates the existing pattern, whether sand, lace, or smooth, and blends the transition so there is no visible seam. Color matching follows, either by tinting the finish coat or painting the full elevation so old and new take the same coat.
For example, say a homeowner in North Scottsdale replaces one water-damaged garage wall on a 20-year-old sand-finish home. Matching the aged finish exactly is hard, so the practical move is often to stucco the new section, then paint the entire elevation corner to corner. Painting stucco with elastomeric paint is a common finish choice here because it bridges hairline cracks and adds a water-shedding layer, though it should only go over sound, fully cured stucco, never over damage as a cover-up.
One honest trade-off: even a well-executed partial replacement can develop hairline cracking near the tie-in as the new material cures against the old. Work adjacent to existing stucco can itself stress the surrounding material. A good crew minimizes it and addresses any hairlines at the final walkthrough, but a homeowner expecting laboratory-perfect invisibility on day one should know the realistic standard is a wall that reads as one surface from normal viewing distance.
Step 6: Compare Bids Using What You Now Know
You now know what the removal work involves, so use it to sort bids. As of 2026, the useful comparison is not the bottom-line number; it is whether each bidder priced the same scope. A cheap bid that skips paper replacement, flashing inspection, or debris hauling is not cheaper. It is incomplete.
Ask each bidder these questions:
- Did you sound the wall and inspect it in person before pricing, or quote from photos?
- Does the bid include removal, lath, paper, all coats, texture matching, and haul-off, itemized?
- How do you price hidden rot or sheathing replacement found during removal?
- Is this partial or full removal, and where exactly are the tie-in lines?
- How will you protect the exposed wall if weather moves in mid-project?
Therefore, the contractor worth hiring is the one whose answers match the steps above without prompting. A specialist who does both stucco repair and full replacement, and who tells you plainly when a patch is enough, has no reason to inflate the job. That is the standard to hold every bid against, whether you are one homeowner staring at a bulging wall before monsoon season or a board budgeting reserve funds for a community's shared walls.
If you need stucco repair, Scottsdale Stucco Repair can help.
Prefer to talk it through? Call (480) 637-3464 — a quick call is usually the fastest way to get a straight answer for your situation.