DIY Stucco Wall Inspection: Check Your Walls Before You List in Scottsdale, AZ
If your realtor flagged the exterior before listing, or you noticed cracks spreading near the windows, a DIY stucco inspection is the right first move. You can learn a lot about your walls in an afternoon with a flashlight, a screwdriver, and your knuckles. This guide walks Scottsdale, AZ homeowners through each step, then shows you exactly where the do-it-yourself check ends and a professional assessment should take over, so you spend money on the repair, not on guessing.
Stucco is worth understanding here because it is everywhere. Stucco remained the most-used exterior wall material in the Mountain division, which includes Arizona, at 48% of new single-family homes started in 2024, according to the National Association of Home Builders. That means Scottsdale buyers and appraisers see stucco constantly, and they notice when it looks neglected.
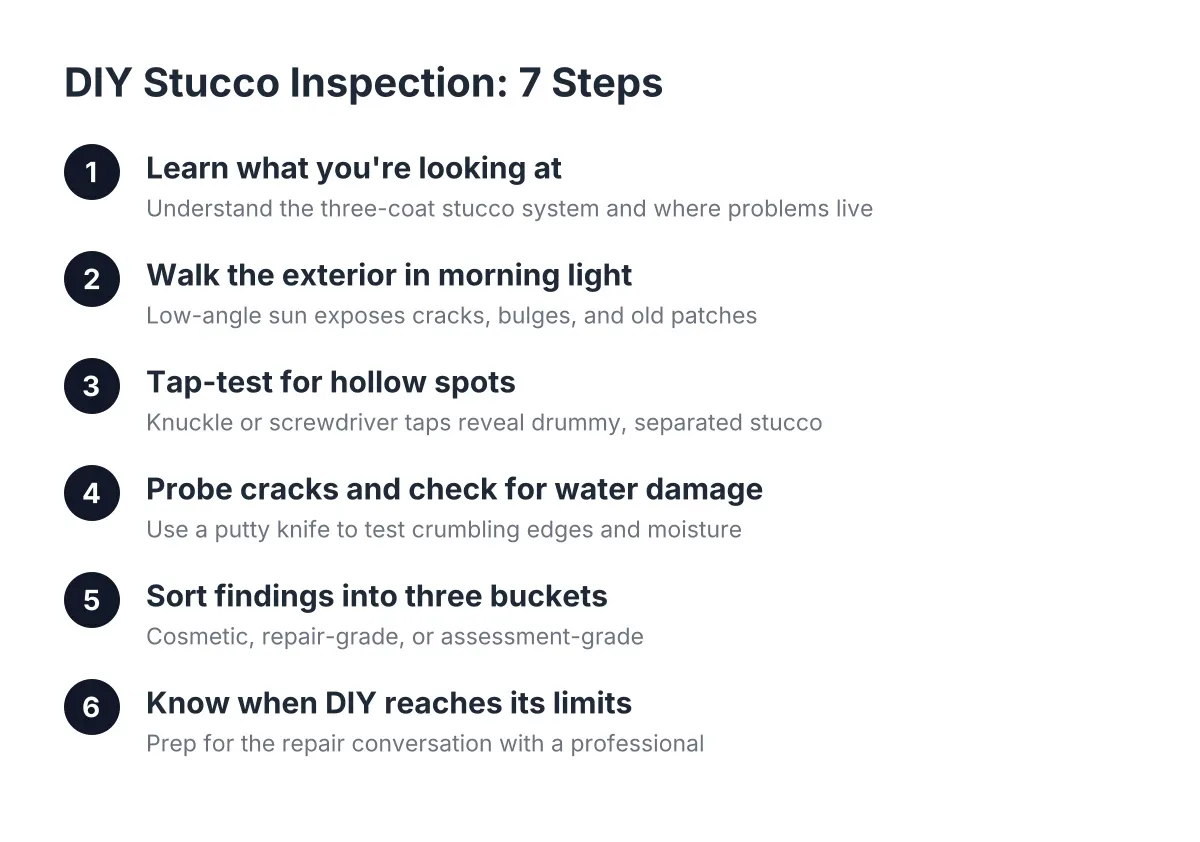
Step 1: Learn What You Are Actually Looking At
Before you inspect anything, know the wall. Most Scottsdale homes built before 2010 use a traditional three-coat stucco system. From the framing outward, the assembly typically looks like this:
- A moisture barrier, usually tar paper, over the sheathing
- Metal lath or chicken wire fastened over the barrier, with channel trim at edges to handle expansion and contraction
- A scratch coat, the first rough layer of stucco
- A brown coat, the leveling layer
- A finish coat, which carries the color and texture you see
Total thickness for a three-coat system usually runs about seven-eighths of an inch over the lath. Why does this matter for your inspection? Because most cosmetic problems live in the finish coat, while the problems that fail an inspection or scare a buyer live in the layers behind it. Your job in a DIY stucco inspection is to figure out which one you have.
If you plan to hang anything heavy later, note that a standard stud finder struggles through stucco because of the metal lath. Find studs from inside the house instead, or locate them at outlets and transfer measurements outside.
Step 2: Walk the Exterior in Morning Light
Do your visual pass early in the day. Low-angle Arizona sun rakes across the wall and exposes every hairline crack, bulge, and old patch that midday light hides. This is the same light your listing photographer may shoot in, so what you see now is what buyers will see.
Walk the full perimeter twice, once from ten feet back and once up close. Note the following on your phone with photos:
- Cracks at window and door corners, the most common stress points
- Spider-web fissures, which usually signal finish-coat shrinkage rather than structure
- Stair-step or long diagonal cracks wider than a credit card edge, which deserve professional eyes
- Holes from satellite mounts, old fixtures, or impact
- Patches that show as a different color, sheen, or texture than the surrounding wall
- Staining, especially rust streaks or dark water marks below windows and at the base of walls
For a pre-sale fix, that last two items matter most. A poor texture match on an old patch usually means someone repaired it without matching the original finish technique, and buyers read it as deferred maintenance even when the wall underneath is sound.
Step 3: Tap-Test for Hollow Spots
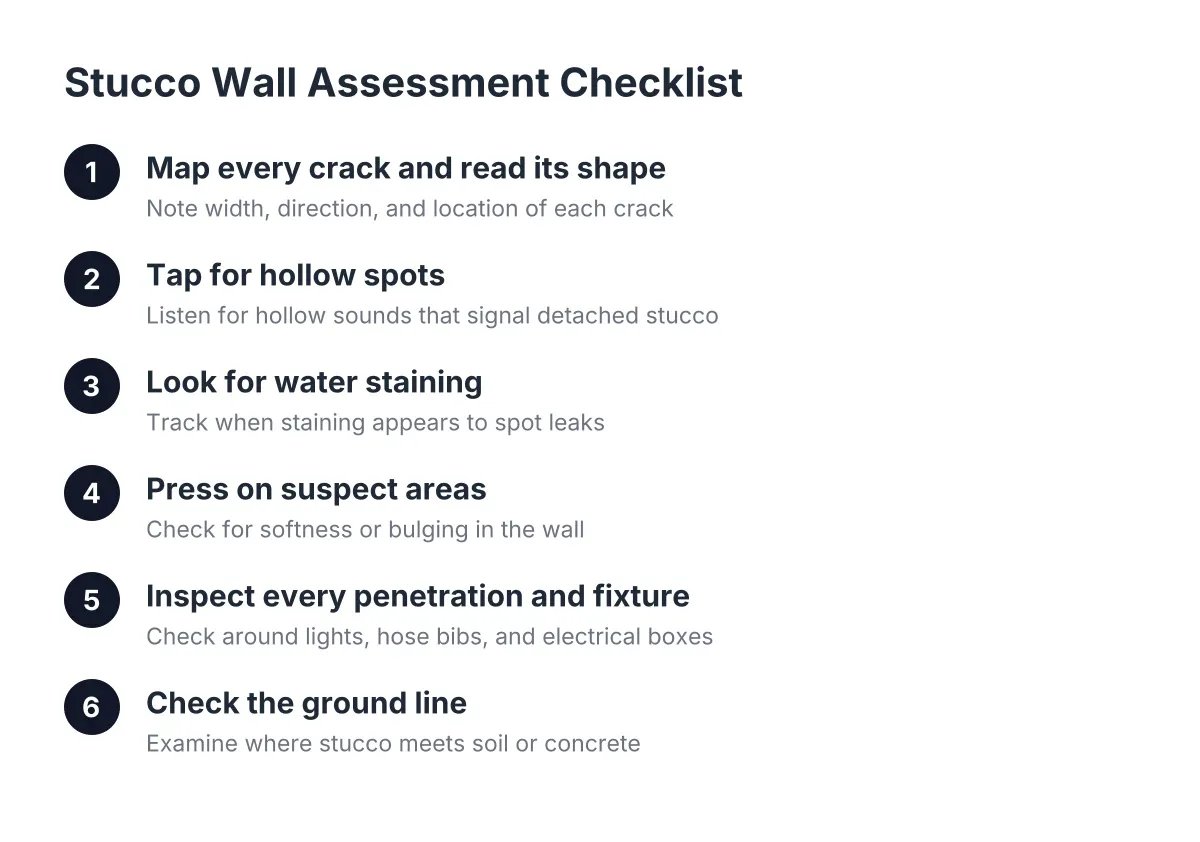
Sound tells you what your eyes cannot. Rap on the wall with your knuckles or the handle of a screwdriver, working in a grid across each elevation. Solid stucco returns a dull, dense sound. A hollow, drummy sound means the stucco has separated from the layers behind it, often because a bonding agent was missing when a previous coat or patch went on.
Mark hollow zones with painter's tape and measure them. A hollow patch the size of your hand is a straightforward stucco patching job. A hollow zone spanning several square feet, especially below a window or near the roofline, points to a deeper failure and belongs in a professional assessment before anyone quotes you a repair.
Step 4: Probe Cracks and Check for Water Damage
Next, get specific about the cracks you flagged. Press gently along each crack with a plastic putty knife. If the edges crumble, flake, or flex, the damage extends past the finish coat. If the crack is tight, stable, and hairline width, it is likely cosmetic.
Pay extra attention to anything below windows, at hose bibs, and where patios or planters meet the wall. Water damage behind stucco often shows first as soft spots, bubbling, or staining in these areas. Here is the part homeowners underestimate: a structural crack left open for years lets the building paper behind it dry out and turn brittle. Once normal wall flexing tears that paper, water gets to the sheathing, and a crack repair becomes a water damage repair.
Do not pressure-wash the wall to "clean it up" before this step. Blasting stucco drives water into cracks and can blow loose material off the wall. Gentle rinsing is fine; high pressure is not.
Step 5: Sort Your Findings Into Three Buckets
Now turn your notes into a decision. Everything you found fits one of three categories.
Cosmetic, DIY-friendly. Hairline shrinkage cracks and nail holes on a wall you are not staging as a photo backdrop. A pre-mixed stucco patch product handles these better for a homeowner than mixing raw ingredients like a mason would for a full wall.
Repair-grade, hire it out. Hollow zones, cracks wide enough to catch a fingernail, holes bigger than a golf ball, crumbling edges, and any visible patch that does not match. Applying scratch and brown coats looks simple and is not; getting the texture and color to blend is the difference between a wall that photographs clean and a wall that photographs patched.
Assessment-grade, get it evaluated first. Soft or stained areas suggesting water intrusion, long diagonal cracking, or hollow zones covering large sections. Quote these only after someone has confirmed what is behind the surface, or you will compare bids for the wrong repair.
For budgeting, Fixr.com puts the national average cost to repair stucco at $900 to $3,000, averaging about $1,700 for repairing buckled three-coat stucco in a 10×10-foot area. Localized crack repair and patching in Scottsdale often lands below that range; water damage repair with lath and paper replacement lands above it.
Step 6: Knowing When DIY Stucco Inspection Reaches Its Limits
A DIY stucco inspection reliably identifies surface problems: cracks, holes, hollow spots, and mismatched patches. It cannot confirm what is happening behind the wall. Moisture readings, checking the condition of the paper and lath, and judging whether a crack is structural all require opening the wall or using tools most homeowners do not own. If Step 4 or Step 5 turned up water signs or large hollow areas, bring in a professional before you commit to a repair path, and before an appraiser or buyer's inspector finds it for you.
There is also an honest trade-off on timing. If your listing date is set, a full assessment plus repair takes longer than a quick cosmetic patch. The risk of skipping it is that a buyer's inspector flags the same damage mid-escrow, when you have less leverage and less time.
Step 7: Prep for the Repair Conversation
Suppose you are a Scottsdale homeowner listing in six weeks with cracked corners at two windows and a fist-sized patch from an old light fixture that dried lighter than the wall. In that scenario, your inspection notes turn a vague "fix the stucco" line on the realtor's list into a specific scope: stucco crack repair at two windows, one patch with color matching and texture matching, roughly a one-day job.
Bring these to any contractor you call:
- Photos of every issue, taken in morning light, with something for scale
- Your tape-marked hollow zones and their rough dimensions
- The age of the home and any previous repairs you know about
- Your deadline, whether that is a listing date, appraisal, or event
One more detail that pays off at quote time: if your wall shows discoloration in several shades, a good contractor will remove a small sample piece for color matching rather than eyeballing it. And if a perfect match genuinely is not possible on a heavily faded wall, painting the entire wall or section is the standard fallback for a uniform look. A contractor who tells you that upfront is being straight with you; a patch that almost matches can look worse in photos than the crack it replaced.
Done in order, these seven steps give you what most sellers never have before they call for stucco repair: a clear picture of the wall, a realistic scope, and the ability to tell a fair quote from a padded one.
If you need stucco repair, Scottsdale Stucco Repair can help.
Related guide: Stucco Wall Assessment — Complete Guide
Prefer to talk it through? Call (480) 637-3464 — a quick call is usually the fastest way to get a straight answer for your situation.