Dash, Lace, Popcorn, or Santa Barbara? How to Match Stucco Texture Types
If you just finished a block wall or a room addition in Scottsdale, the color of the new stucco is only half the battle. Texture is what your eye actually notices from the curb, and a dash stucco finish looks nothing like a lace or a Santa Barbara smooth even when the paint matches perfectly. This guide walks you through identifying the texture on your existing house and matching it on new block, step by step, so the wall reads as one continuous surface instead of an obvious add-on.
That matters more here than in most markets. According to the National Association of Home Builders, stucco was the most-used exterior wall material in the Mountain division, which includes Arizona, on 48% of new single-family homes started in 2024. Your neighbors have it, your HOA expects it, and a bare gray block fence stands out for the wrong reasons.
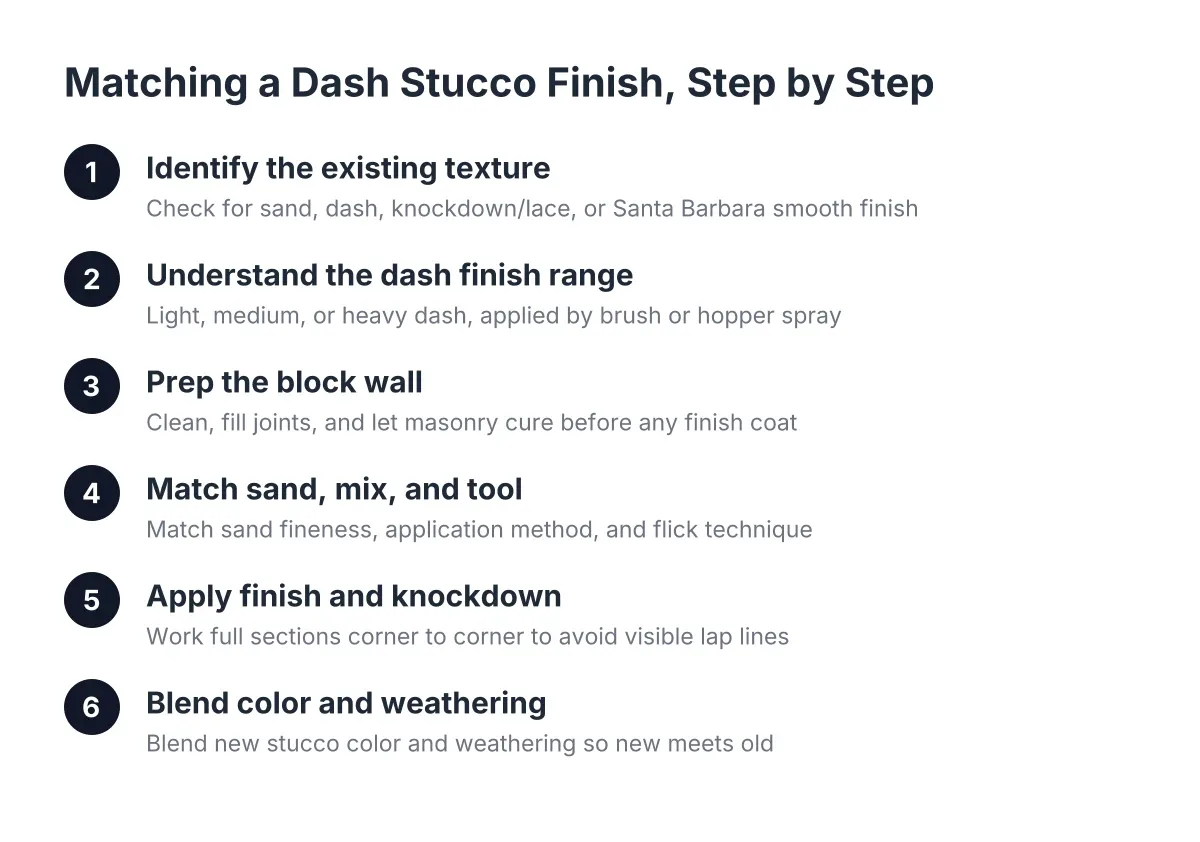
Step 1: Identify the Texture on Your Existing Walls
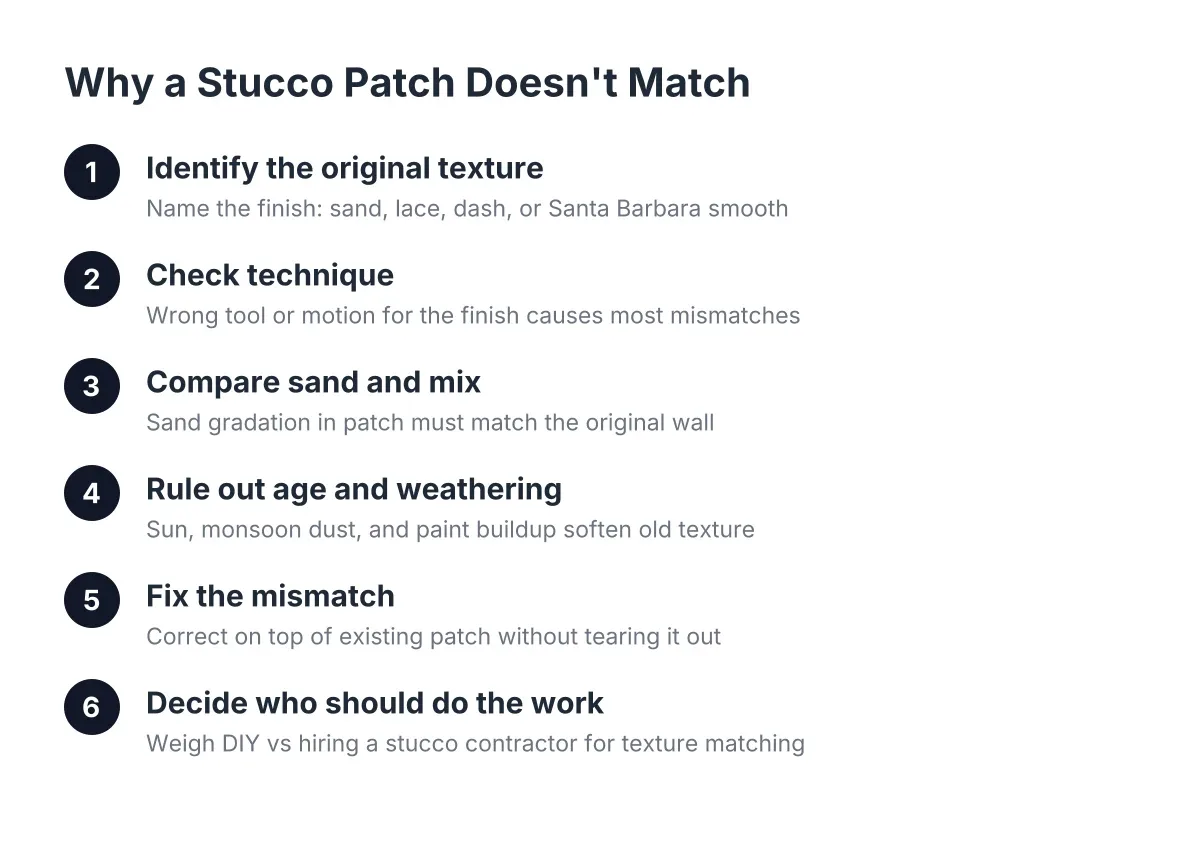
Before you buy a bag of material or call anyone, stand ten feet from your house and figure out which texture family you have. Scottsdale homes built before 2010 almost always fall into one of four types:
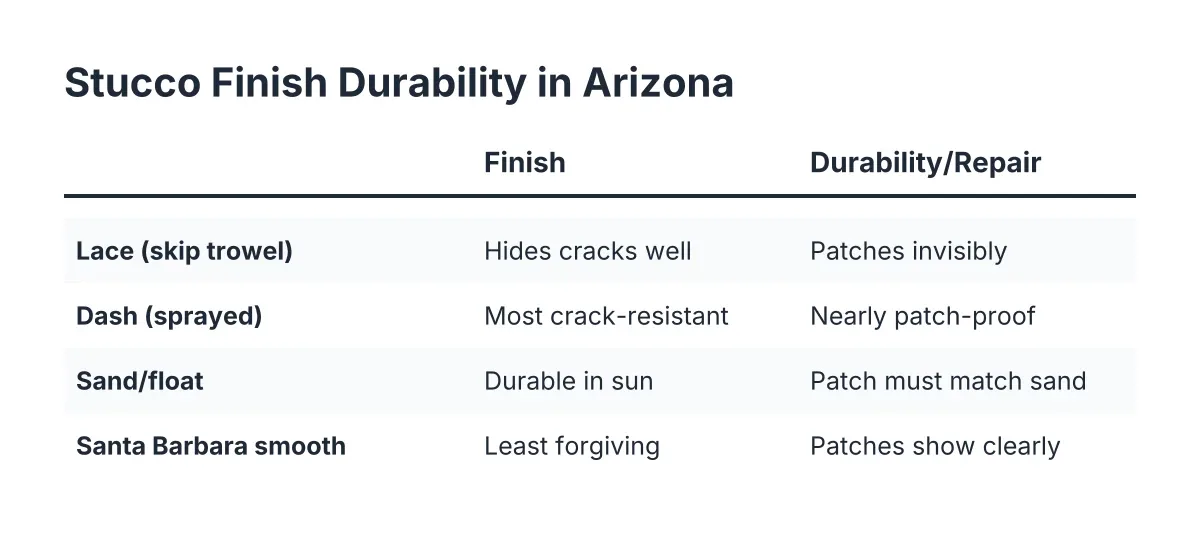
- Sand finish (also called float finish): A uniform, fine-grain surface, like coarse sandpaper. Common on newer tract homes. The fineness of the sand in the mix controls how tight the grain looks.
- Dash finish: Material flicked or sprayed onto the wall and left alone, creating raised bumps. It ranges from light dash to medium dash to heavy dash, sometimes called pebble dash when the texture is coarse.
- Knockdown dash (lace or skip trowel): A dash stucco texture that gets lightly troweled flat after spraying, leaving raised islands with flattened tops and open valleys between them. This is the most common texture on Scottsdale homes from the 1980s through the 2000s.
- Santa Barbara smooth: A hand-troweled, nearly flat finish with subtle mottling and movement. Popular on higher-end and Spanish-style homes.
Run your hand across the wall. If it feels like gravel glued on, you have a dash. If the bumps have flat tops, it is a knockdown. Additionally, if it is smooth with soft waves, you are looking at Santa Barbara.
Take photos in raking morning or evening light. Low-angle sun exaggerates texture and makes the pattern easier to compare later.
Step 2: Understanding the Dash Stucco Finish Range
A dash stucco finish is not one texture; it is a range, and matching the wrong weight is the most common reason a new wall looks off. Dash comes in light, medium, and heavy versions, applied by hand with a dash brush or sprayed through a hopper gun. The tool and the wetness of the mix change the result.
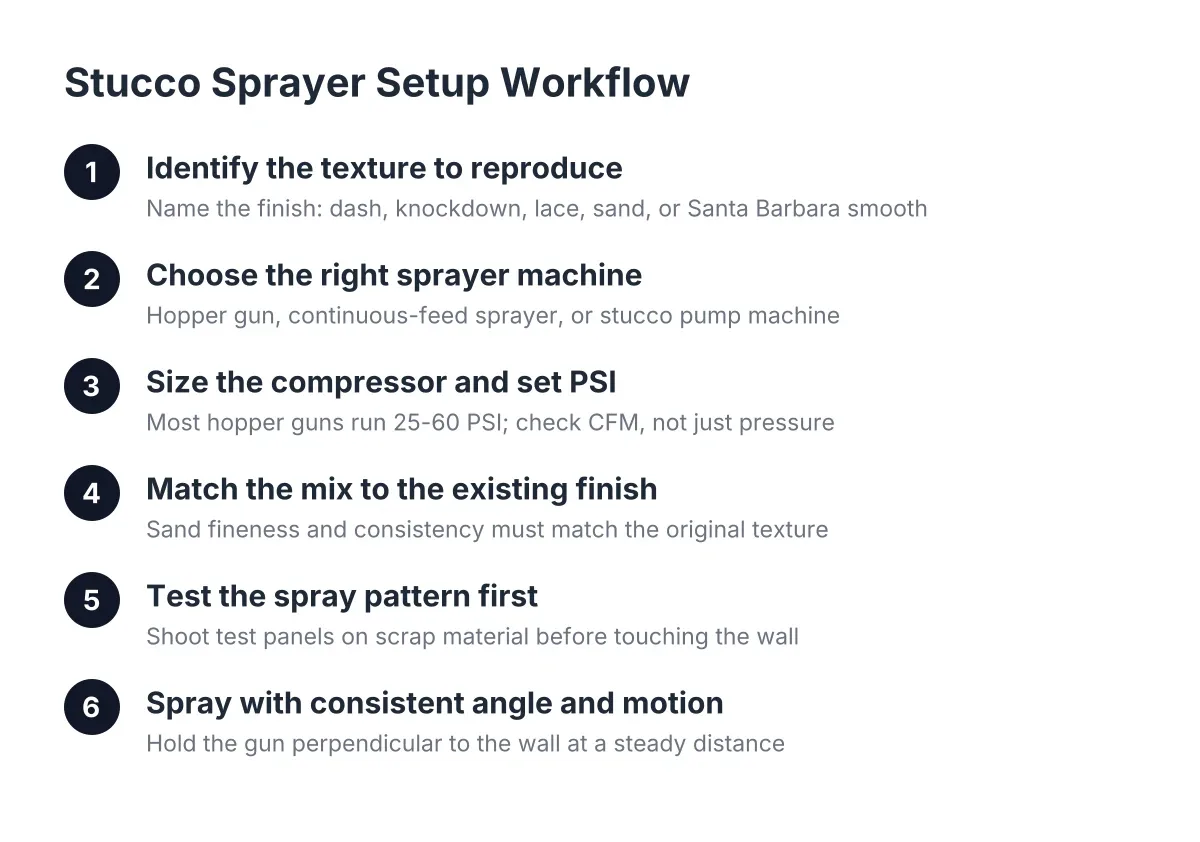
A hand dash brush loaded with wetter material and flicked at the wall throws a coarser, more irregular pattern than a hopper spray. Hopper-applied stucco texture spray produces smaller, more uniform droplets. If your house was sprayed and your new block wall gets hand-dashed, the two surfaces will not match even in the same color.
The knockdown dash deserves special mention. It starts as a sprayed dash coat, then gets flattened with a trowel while wet. Timing controls everything; knock it down too early and the islands smear together, too late and the trowel barely moves the material. It is also the hardest texture to match during crack repair, because caulking a crack leaves a smooth line through a pattern of flats and valleys that the eye picks up instantly.
Step 3: Prep the Block Wall Before Any Finish Goes On
Texture is the last coat, not the first. Traditional stucco over block or lath goes on in three coats: a scratch coat that gets scored so the next layer bonds, a brown coat that builds a flat plane, and a finish coat that carries the color and texture. On clean concrete block, some installers use a modified approach with fewer coats, since the block itself provides a rigid base.
Either way, the base coats decide whether the finish coat can match. If the brown coat is wavy, no texture will hide it on a smooth or light finish. This is one reason textured finishes stay popular; the bumps and shadows of a dash or lace conceal small surface imperfections that a Santa Barbara smooth would broadcast.
For a block fence, prep also means cleaning off dirt and efflorescence, filling open joints, and letting any new masonry cure. Rushing stucco onto green mortar invites cracking, and then you are searching for stucco crack repair a year after paying for installation.
Step 4: Match the Sand, the Mix, and the Tool to the Existing Finish
This is the step most homeowners, and honestly some contractors, gloss over. Match three things, not one:
- Sand fineness. The grain size in the mix should match the grain of the existing finish. Fine sand on a wall finished with coarse sand reads as a different material, even under the same paint.
- Application method. Hand-dashed walls need a hand dash, flicked on with the same slinging motion. Sprayed walls need a hopper set to a similar droplet size and pressure.
- Technique detail. Dabbing dash material onto the wall instead of flicking it creates uneven valleys and high spots that never blend. The flick is the texture.
Test on a scrap of block or a sheet of backer board first. Hold the sample against the house in daylight and adjust before committing to the whole wall. Suppose you are stuccoing a 60-foot block fence behind a 1990s Scottsdale home with a medium knockdown lace; in that scenario, a smart approach is to spray a test panel, knock it down at two different wait times, and pick the one that matches the shadows on the house wall, not just the bump height.
Step 5: Apply the Finish and Knockdown Technique
Once the sample matches, work the real wall in full sections, corner to corner or joint to joint. Stopping mid-wall leaves a visible lap line in the texture. For a straight dash stucco finish, spray or flick the coat evenly and leave it alone. For a knockdown, spray the dash coat, wait until it loses its wet sheen, then trowel lightly with a clean blade held nearly flat.
Resist the urge to over-trowel. One light pass flattens the peaks; three passes turn a lace into a smear. On a hot Scottsdale afternoon, material stiffens fast, so smaller sections and a helper make the difference between a match and a redo.
If your house has a heavy dash stucco finish, skip the trowel entirely. Heavy dash is left as-thrown, and any flattening will make the new wall read as a different texture from twenty feet away.
Step 6: Blend Color and Weathering So New Meets Old
Texture matching gets the shape right; color and age finish the illusion. Fresh stucco next to 20-year-old stucco will look newer even when the texture is identical, because the old finish has faded, collected dust, and softened in tone. You have two honest options. Paint the entire connected surface so everything ages together from the same starting point, or use a color-matched finish coat and accept that the new section will take a season or two of Arizona sun to mellow toward the rest.
For a freestanding block fence that does not touch the house, exact aging matters less; a close color match and the right texture usually carry it. Where the new wall ties directly into an existing stucco finish on an exterior wall of the house, feather the transition at an inside corner or a control joint, never in the middle of a flat plane. Edges hide seams; open wall does not.
Keep perspective on stakes, too. Stucco texture matching is a cosmetic discipline, not a structural one, so a patch that does not blend is an eyesore rather than a warning sign. The reverse is also true: a beautiful match over a wall with water damage or active cracking is a problem postponed, not solved.
Step 7: Decide What to DIY and When to Bring In a Pro
Be honest about the texture on your house before deciding. A heavy or pebble dash on a backyard fence is the most forgiving DIY texture; the coarse, random pattern hides inconsistency, and a rented hopper gun or a dash brush can get a passable result with practice panels. Sand finishes are moderately forgiving. Knockdown lace and Santa Barbara smooth are the two where hand skill shows, and a first attempt on the wall facing the street rarely blends.
Cost is the other half of the decision. Stuccoing bare block is installation, not repair, so it is priced by square footage of new work rather than by the patch. For reference on the repair side, Fixr.com puts the national average cost to repair stucco at $900 to $3,000, averaging about $1,700 for a 10×10-foot area of buckled three-coat stucco. New installation on a clean block fence often runs less per square foot than tear-out repair, since there is nothing to demolish; treat that as a general pattern, not a quote, and get two or three local bids in 2026 before committing.
One clear line: if the new block ties into the house structure, wraps around parapets, or sits where roof runoff hits the wall, have a stucco professional handle flashing and transitions. A texture mismatch is cosmetic; a water path behind new stucco is not.
Get the texture identification right in Step 1, test before you commit in Step 4, and match the tool to the finish. Do those three things and a bare block wall stops looking like a leftover from construction and starts looking like it was always part of the house.
If you need stucco repair, Scottsdale Stucco Repair can help.
Prefer to talk it through? Call (480) 637-3464 — a quick call is usually the fastest way to get a straight answer for your situation.