Stucco Sprayer Machine Setup: Air Compressor PSI and Spray Gun Types for Texture Matching
If you want a stucco patch or a newly stuccoed block wall to blend into the rest of your house, the equipment matters as much as the mix. A stucco sprayer machine, paired with the right air compressor settings, is how pros reproduce the sprayed textures common on Scottsdale homes, dash, knockdown, and heavy lace among them. This guide walks through the setup step by step: the spray gun types, the air pressure they need, and how a crew dials everything in so new texture looks like old texture. Whether you plan to rent equipment yourself or you want to understand what a good contractor should be doing on your wall, the steps are the same.
Texture matching matters more in Arizona than most places. Stucco remained the most-used exterior wall material in the Mountain division, which includes Arizona, at 48% of new single-family homes started in 2024, according to the National Association of Home Builders. That means your new block wall or addition is almost certainly standing next to existing sprayed stucco it needs to match.
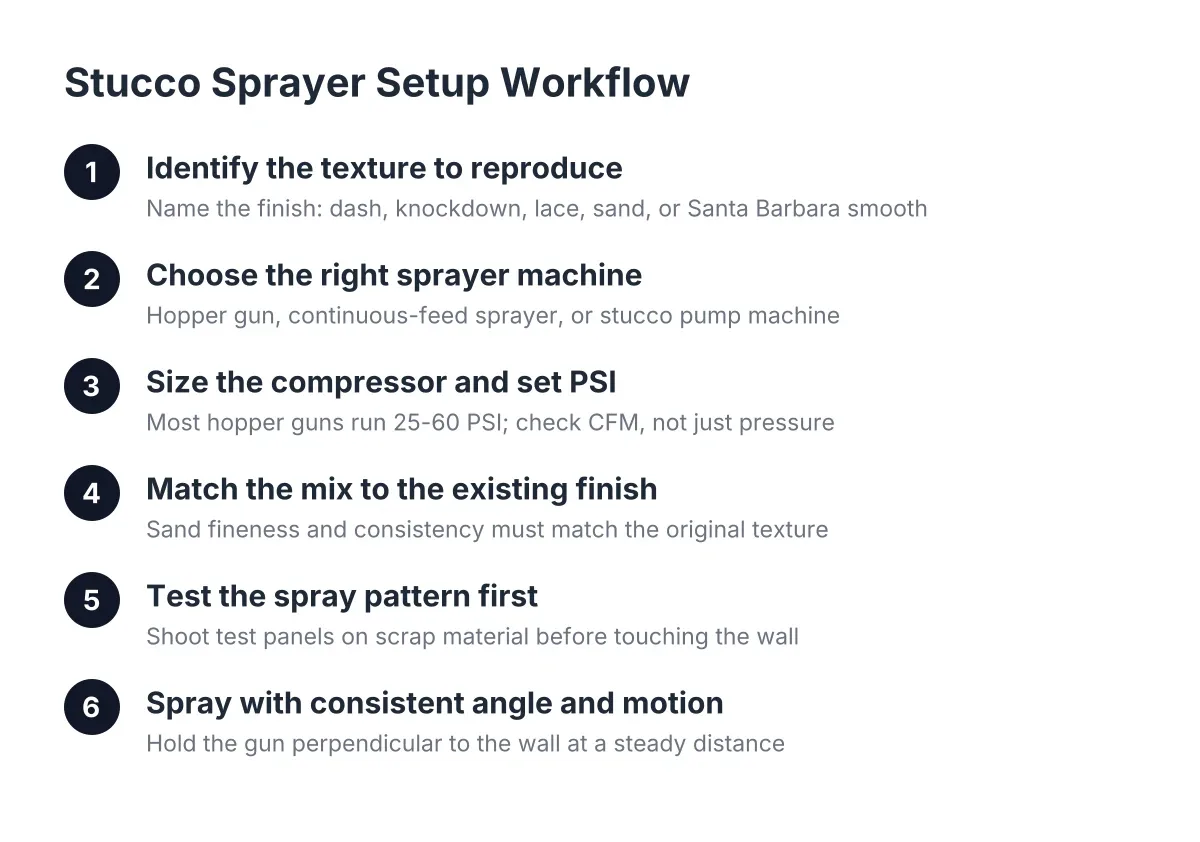
Step 1: Identify the Texture You Need to Reproduce
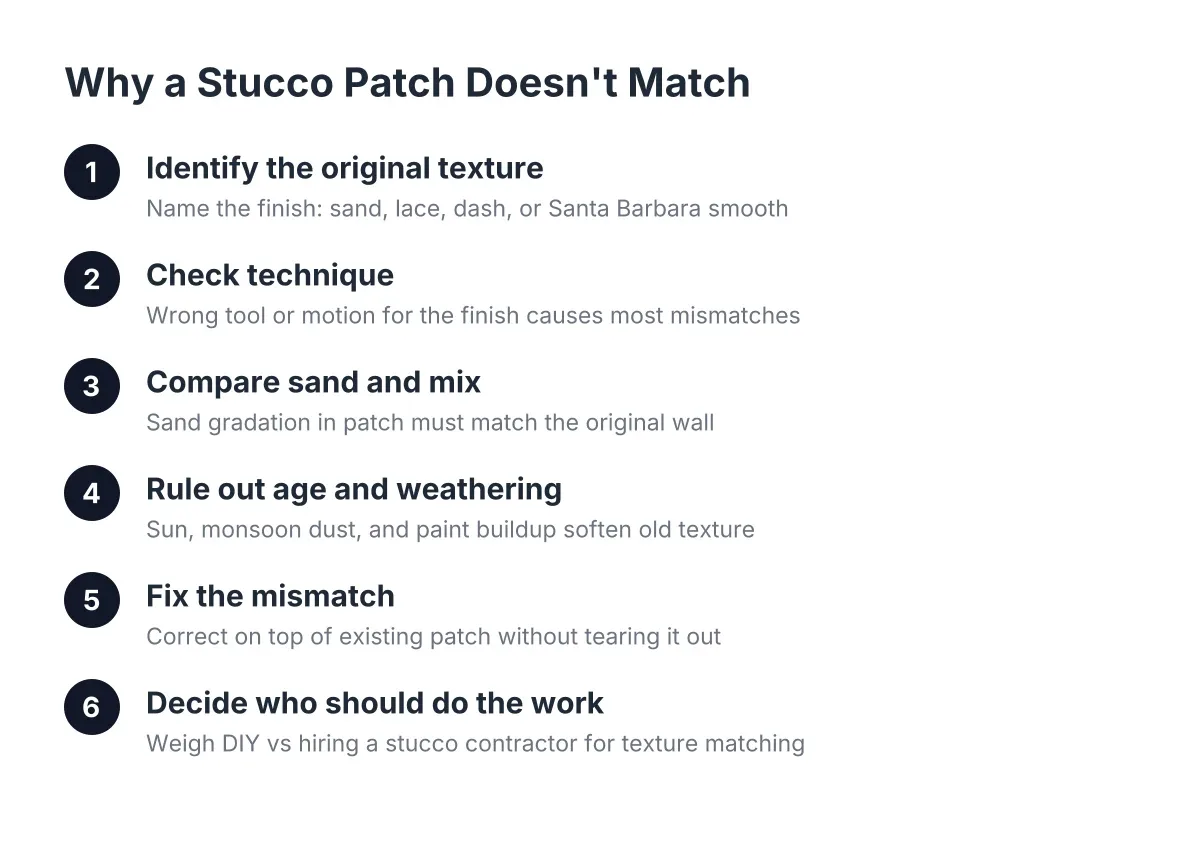
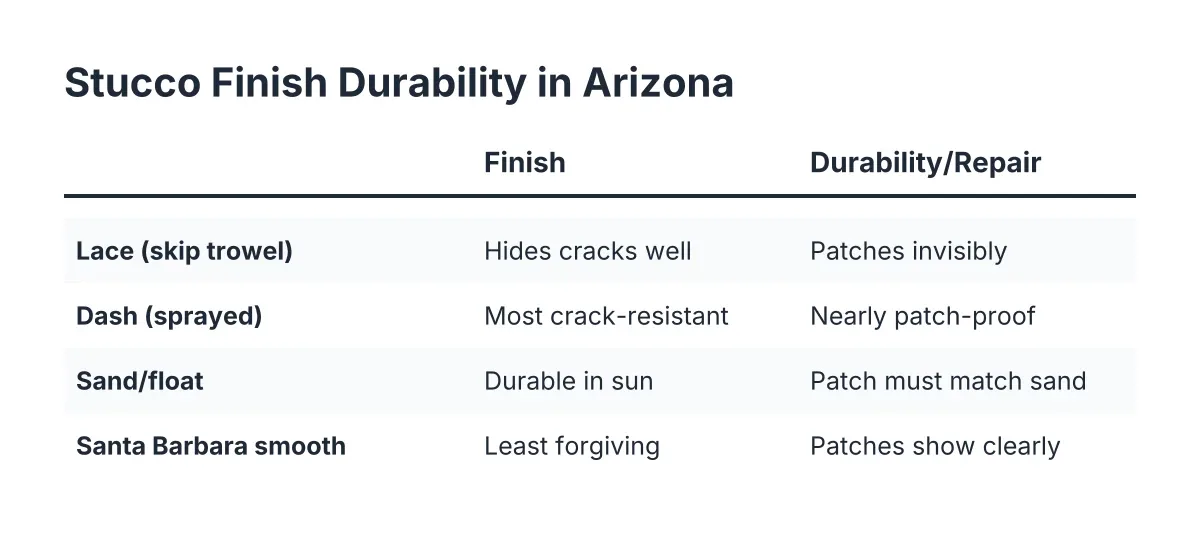
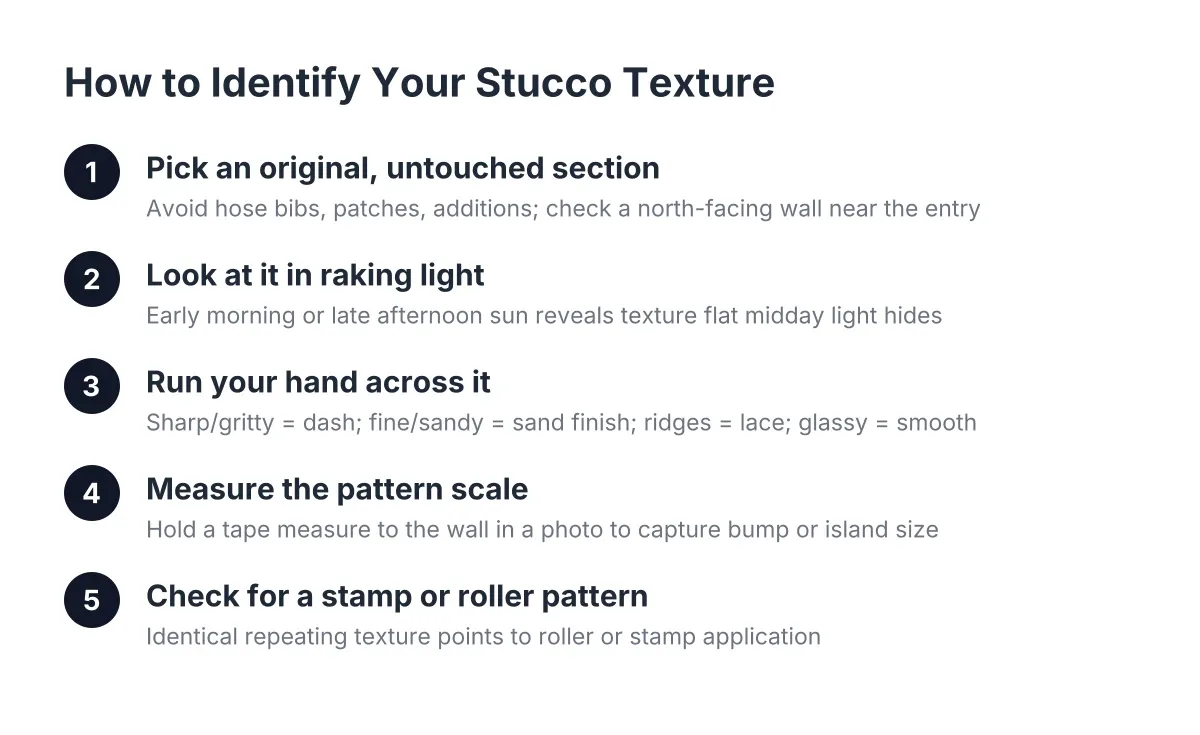
Before you touch equipment, stand ten feet from the existing wall and name the finish. A dash texture looks like scattered globs. A knockdown dash gets sprayed, then lightly troweled flat on the high spots. Lace has a flattened, webbed look. Sand finish is uniform and fine, and Santa Barbara smooth is troweled, not sprayed at all.
This matters because the texture dictates the equipment. Sprayed finishes like dash and knockdown need a hopper gun or dedicated stucco spray machine. A true Santa Barbara smooth finish is hand work; renting a sprayer for it wastes money. If you cannot tell which finish you have, take photos in raking morning light and compare against texture references, or have a contractor identify it before anyone quotes the job.
Step 2: Choose the Right Stucco Sprayer Machine for the Finish
A stucco sprayer machine falls into three broad categories, and each suits a different job size and texture.
- Gravity-fed hopper gun. A cone-shaped hopper sits on top of a trigger gun, and compressed air blows the mix out through an orifice. This is the standard tool for dash and knockdown texture on patches and small walls, and it is what most rental counters carry. Interchangeable orifice tips, usually in sizes from about 4mm to 12mm, control how coarse the texture lands.
- Continuous-feed texture sprayer. A pump pushes material from a bucket or hopper through a hose to the gun. These cover large areas faster and keep output more consistent, which helps on a long block fence where a hopper gun would need constant refilling.
- Stucco pump machine. A piston or rotor-stator pump that moves base coats and finish coats at volume. This is professional equipment for full installations, like stuccoing an entire addition, not something most homeowners rent.
For the Block-Wall Upgrader finishing a backyard wall, a hopper gun handles the finish coat. However, the scratch and brown coats underneath still go on by hawk and trowel on most residential jobs; the sprayer only reproduces the visible texture layer.
Step 3: Size the Air Compressor and Set the PSI
Most hopper guns for stucco finish coats run between 25 and 60 PSI, and the compressor behind them matters more than the gun itself. Lower pressure around 25 to 35 PSI throws larger, coarser globs for a heavy dash. Higher pressure around 40 to 60 PSI atomizes the mix finer, which suits a tighter, smaller-pattern texture. CFM, the volume of air delivered, is the spec people miss; a gun that needs 7 to 9 CFM will starve on a small pancake compressor.
Consistent pressure is the whole game. A small compressor without an adequate tank loses pressure as you spray, and the texture pattern visibly changes across the wall as it does. The first ten square feet look different from the last ten. Therefore, use a compressor with a tank large enough to hold steady output, set the regulator once, and check it between hopper refills.
In addition, plan hose runs so the compressor sits away from the work. Crews typically stage the compressor outside or at a distance and run hose to the gun, which keeps noise down and keeps pressure management in one spot.
Step 4: Match the Mix to the Existing Finish
The sprayer only throws what you feed it. Match the fineness of the sand in your mix to the texture of the existing stucco; coarse sand will never reproduce a fine sand finish, no matter how you set the gun. Mix consistency matters just as much. Too wet and the texture slumps and flattens; too stiff and the gun spits and clogs.
The two variables that decide whether a patch blends are mix consistency and constant air pressure. Everything else, gun angle, distance, and motion, is technique layered on top of those two. Skip aerosol texture cans entirely; the results read as noticeably different from machine-sprayed texture even from the curb.
Step 5: Test the Spray Pattern Before You Shoot the Wall
Never put the first pass on the actual wall. Tape up a scrap of drywall, plywood, or plastic sheeting next to the area you are matching and shoot test patterns. Adjust one variable at a time: orifice size, then PSI, then mix water. Compare each test panel against the existing wall at the same distance a visitor would see it.
For example, suppose a homeowner in Scottsdale just had a block wall built off the back patio and the house wears a medium knockdown dash. A typical crew would test on plastic until the glob size matches, spray the wall, wait for the sheen to dull, then lightly trowel the high spots to reproduce the knockdown. That troweling timing is learned by feel, which is one reason sprayed-then-troweled finishes are the hardest DIY matches.
Step 6: Spray With Consistent Angle, Distance, and Motion
Hold the gun perpendicular to the wall and keep your distance constant, usually 18 to 24 inches for texture work. Drifting closer or farther changes glob size mid-wall, and the eye catches it immediately. Move the gun in overlapping circular or oval motions rather than straight rows; straight-line passes leave a repeated shot pattern that reads as stripes once the color coat cures.
Work in sections you can complete without stopping, and keep a wet edge where sections meet. On a knockdown finish, trowel each section at the same cure point so the flattening looks uniform from end to end.
Step 7: Decide Whether to Rent a Stucco Sprayer Machine or Hire It Out
Stucco sprayer machine rental is widely available, and for a standalone project like texturing a shed or an interior accent, renting a hopper gun and compressor is reasonable. The honest trade-off: equipment is the cheap part. Judgment about mix, pressure, and trowel timing is what makes a patch disappear, and that judgment comes from repetition you cannot rent.
Call a pro rather than rent when any of these apply:
- The patch sits on a street-facing wall where a visible mismatch hurts curb appeal.
- You are matching a weathered finish; new texture must be adjusted to blend with decades of sun exposure, which is where Stucco Texture Matching becomes a skill of its own rather than a spraying task.
- The job is a full installation over bare block, which needs proper surface prep, base coats, and cure times between coats, not just a finish spray.
- There is water damage or cracking under the area; spraying texture over an unsound base hides the problem until it returns larger.
On scope and cost, expect a full block-wall stucco installation to be quoted differently from a repair; installation includes surface prep, base coats, finish coat, and texture work, while a repair quote covers patching and blending a defined area. For reference on repair pricing, the national average cost to repair stucco runs $900 to $3,000, averaging around $1,700 for a 10×10-foot area of buckled three-coat stucco, according to Fixr.com. New installation over block is priced by square footage and is a separate conversation; get it quoted against your actual wall.
When you compare contractors for stucco texture matching in Scottsdale, AZ, ask three questions. Will they spray a test panel and show it to you against the existing wall before committing? What equipment will they use for your specific finish, and can they explain why? And will the quote state whether color matching is included or handled as a separate step after the texture cures? A contractor who answers those plainly understands the work. A fair quote names the texture by type, defines the area, and separates installation from repair so you know which job you are buying.
If your block wall, fence, or addition is sitting bare and the rest of the house is finished stucco, the next step is a texture match assessment against your existing walls. Reach out for an estimate on stucco installation or texture matching in Scottsdale, and bring photos of the existing finish; that is enough to start the conversation.
If you need stucco repair, Scottsdale Stucco Repair can help.
Prefer to talk it through? Call (480) 637-3464 — a quick call is usually the fastest way to get a straight answer for your situation.