Stucco Hole Repair Timeline: How Many Days From Inspection to Finished Wall
A realistic stucco repair timeline runs two to five days from inspection to a finished, painted wall. That surprises homeowners who expect a one-afternoon fix, but the schedule is driven by cure times, not labor. A good patch gets built in layers, and each layer has to dry before the next one goes on. This guide walks through the repair day by day, so you know what a proper job looks like before you hire anyone, and so you can spot the shortcuts that leave a visible scar on the wall.
The timing matters most if you are selling. When an inspection report flags holes in a wall or exterior wall damage as a condition-of-sale item, you need to know whether the repair fits your closing date. The short answer: a single hole repair fits comfortably inside a week, as long as the contractor sequences the work correctly. Here is that sequence, step by step.
Step 1: Schedule the Inspection and Set the Clock
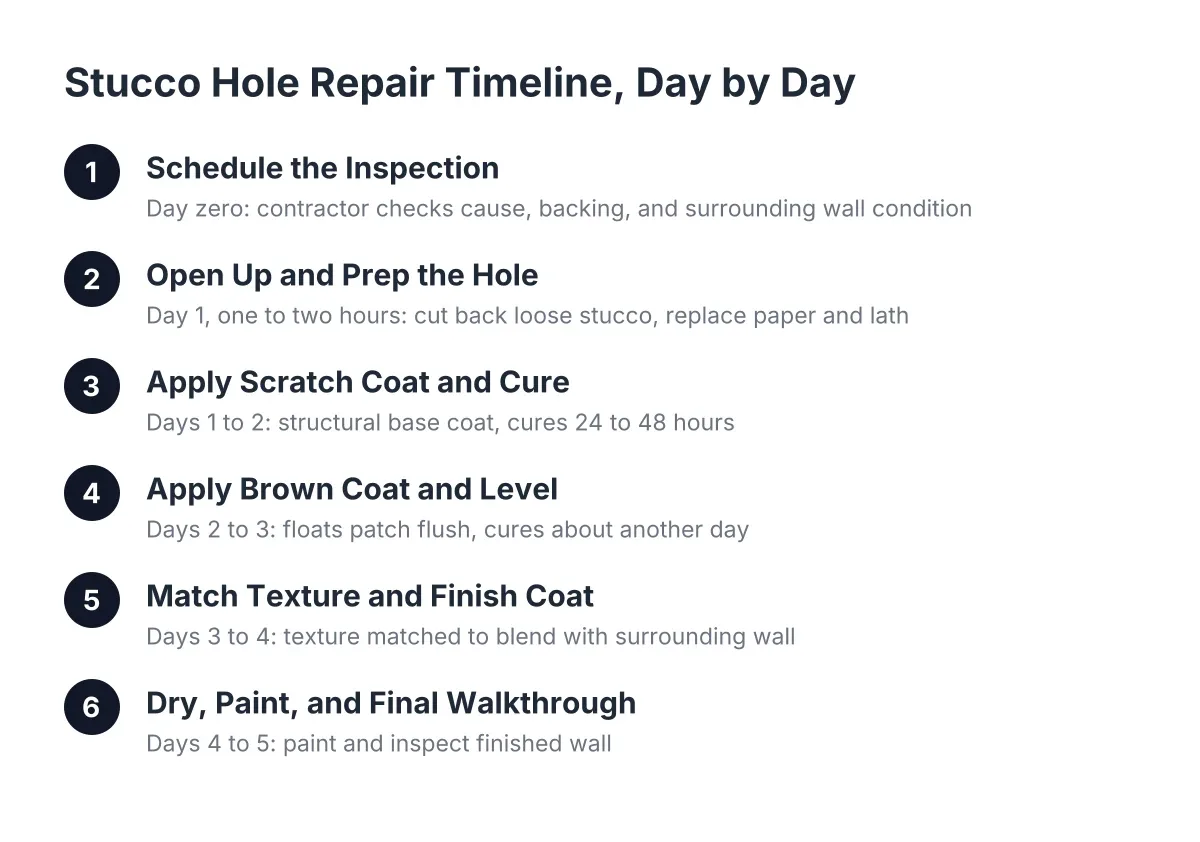
Day zero is the inspection, and it determines everything that follows. A contractor needs to see the hole in person, or at minimum in clear photos, before anyone can commit to the work ahead. Two holes that look identical from the street can be days apart in schedule.
During the inspection, expect the contractor to check three things:
- The cause of the hole. Impact damage from a ladder or ball is a simple patch. Animal damage or a soft, crumbling edge points to water damage behind the stucco, which adds a day or more for drying and paper replacement.
- What is behind the opening. A hole over solid sheathing with intact building paper is the fast case. Torn or brittle paper means the moisture barrier gets rebuilt before any stucco goes on.
- The surrounding wall. Loose or buckling stucco around the hole has to come off first. Leaving it in place lets moisture keep working on the wood behind it, and the repair fails at the edges.
Ask for the expected number of site visits, not just a start date. A proper three-coat patch takes three or four short visits spread across several days. One quote with a single visit and one quote with four visits are not the same job, which is often why one estimate comes in at a fraction of another.
Step 2: Open Up and Prep the Hole (Day 1, One to Two Hours)
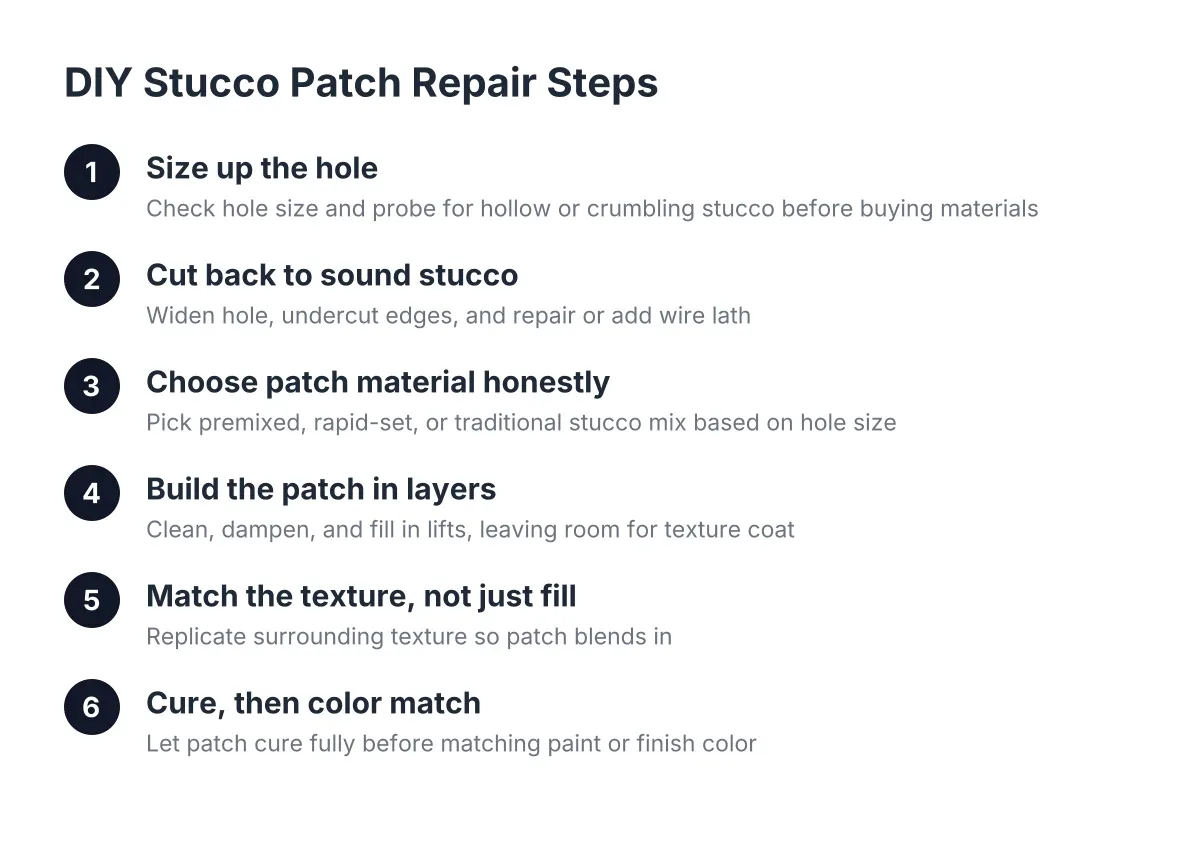
Work starts by making the hole bigger, not smaller. The contractor cuts back to solid, well-bonded stucco and removes every loose piece around the opening. Skipping this step is the most common cause of a patch that cracks out within a year, because new material bonded to crumbling edges has nothing to hold.
Next comes the backing. Damaged building paper gets cut out and replaced, lapped shingle-style so water sheds down and out. Then new metal lath is fastened over the paper. On a corner repair, a careful crew drills through both sides of the corner and ties wire through to join and reinforce the patched sections; that detail is what keeps a corner patch from separating later.
For context on why edges matter in the desert: stucco is the dominant exterior here. Stucco remained the most-used exterior wall material in the Mountain division, which includes Arizona, at 48% of new single-family homes started in 2024, according to the National Association of Home Builders. Scottsdale walls take direct sun and monsoon-driven rain, so a patch with weak edges gets found out fast.
Prep is also when the stucco repair timeline gets strategic. In summer, crews schedule mixing and application for early morning. Hot afternoon sun flashes off the moisture in fresh material and ruins the cure, and the same heat problem applies to any caulking done along adjacent cracks during the same visit.
Step 3: Apply the Scratch Coat and Let It Cure (Days 1 to 2)
The scratch coat is the structural base, pressed firmly into the lath and scored horizontally so the next coat can grip it. This takes under an hour to apply on a typical hole. Then the wall sits, usually 24 to 48 hours depending on temperature and the product used.
This waiting period is where success in your stucco repair timeline hinges. Rushing the brown coat onto a soft scratch coat traps moisture and leads to shrinkage cracking, the hairline spiderweb pattern you see on bad patches. A contractor who tells you the whole repair happens in one visit is either using a one-coat product on a hole small enough to justify it, or cutting the cure, and you should ask which.
On multi-story or multi-patch jobs, crews work from the bottom of the wall upward. That order keeps fresh lower sections from being dripped on and damaged by work above them.
Step 4: Apply the Brown Coat and Level the Surface (Days 2 to 3)
The brown coat brings the patch flush with the surrounding wall. The contractor floats it level so the finish coat can go on at a uniform thickness, which is what makes the repair disappear rather than read as a bump or a dish in raking light.
Therefore, this is the visit where you should look at the patch yourself. Run your eye along the wall from an angle. The brown coat should sit flat with the original stucco, with no hump at the center and no ledge at the edges. Fixing a level problem now takes minutes; fixing it after the finish coat means redoing the finish.
The brown coat also needs cure time before finish, typically another day. For a straightforward hole, you are now at day three with the hard part done.
Step 5: Match the Texture and Apply the Finish Coat (Days 3 to 4)
The finish coat is where a repair either vanishes or announces itself forever. Texture matching is a skill, not a product. For the knockdown dash common on Scottsdale homes, the finisher sprays stucco finish onto the patch and then lightly trowels it down to blend with the surrounding wall. Sand finishes, lace, and smooth santa-fe each call for a different technique.
A poor texture match usually means a less skilled worker did the finish without studying the original technique. Before hiring, ask to see photos of finished patches on walls with your texture, and ask who specifically does the finish work. Stucco repair is one trade where the last 30 minutes of the job determines whether anyone can find the patch afterward, and a pre-listing seller cannot afford a patch that a buyer's inspector photographs from the driveway.
Color matching happens here too, either through integrally colored finish or paint. Expect the contractor to be straight with you: a fresh patch on a 15-year-old sun-faded wall may need the whole wall section painted corner to corner to be invisible. That adds a day but is the honest answer.
Step 6: Dry, Paint, and Do the Final Walkthrough (Days 4 to 5)
A fresh patch needs to dry before paint, at minimum overnight. Painting too soon traps moisture and causes the paint to blister or the color to cure unevenly, which undoes the texture match you paid for.
Finally, walk the wall with the contractor at midday and again in low-angle light if you can. Morning and evening sun rakes across stucco and exposes any flatness difference a noon inspection misses. For a sale, this is also when you collect a clean, itemized invoice describing the repair, which goes straight into your disclosure paperwork.
Understanding Your Stucco Repair Timeline by Job Size
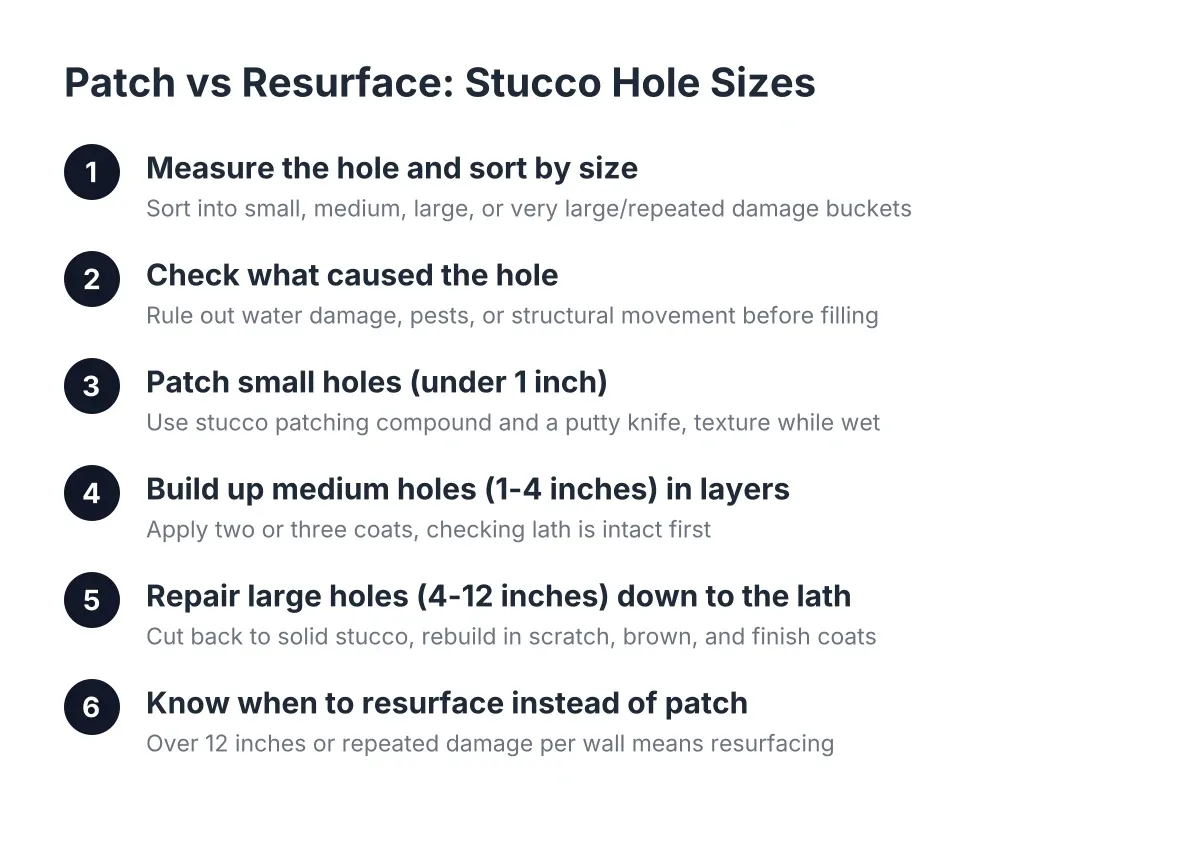
How long does stucco hole repair take for different hole sizes? A fist-sized hole with sound backing takes two to three days including cure times, with about three short site visits. A large hole with water damage behind it runs four to seven days, because wet framing must dry and the moisture barrier gets rebuilt. Widespread damage pushes you out of patching entirely.
Here is an illustrative scenario a seller would recognize. Suppose a Scottsdale homeowner has a buyer's inspection on a Friday that flags a softball-sized hole where an old satellite dish was ripped off, plus soft stucco below it. In that scenario, a typical crew inspects Monday, opens the wall and finds torn paper Tuesday, runs scratch and brown coats Wednesday and Thursday, finishes Friday, and paints the following Monday after an overnight dry. Total elapsed time: about a week, which still fits most closing schedules if you call the day the report lands.
Cost scales with the same variables as time. For budgeting, the national average to repair stucco runs $900 to $3,000, averaging around $1,700 for a buckled three-coat section in a 10×10-foot area, according to Fixr.com. A single small hole lands well below that range; hidden water damage pushes toward the top of it. If your inspection reveals widespread cracking, bulging, or moisture across multiple walls, patching individual holes is the wrong tool, and you should get a professional assessment of resurfacing or replacement before spending money on spot repairs.
What a Finished Repair Should Look Like Before You Pay
Judge the patch against this checklist on the final walkthrough:
- The patch sits flush with the wall, with no hump or dish visible in raking light
- Texture blends into the original finish with no hard outline at the patch edges
- Color matches in full sun, not just in shade
- No hairline cracks have appeared in the finish after it fully dried
- The edges of the repair are tight, with no gap or ridge where new meets old
A repair that passes all five is invisible to a buyer, an appraiser, and you. A repair that fails any one of them will keep catching your eye every time you pull into the driveway, and it will catch a buyer's eye too. The few extra days a layered, properly cured repair takes are the difference between a wall that sells the house and a patch that invites a second negotiation.
If you need stucco repair, Scottsdale Stucco Repair can help.
Prefer to talk it through? Call (480) 637-3464 — a quick call is usually the fastest way to get a straight answer for your situation.